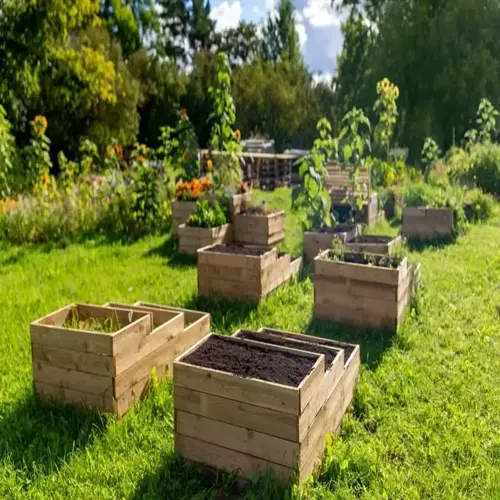

My Black Beauty zucchini in the back-corner bed went pale and yellow about a week after I mounded a thick layer of fresh grounds at its base. The leaves drooped and growth stalled. I raked the grounds off, sent them to the compost pile, and the plant greened back up within ten days.
So here is the short answer. Coffee grounds for squash can help when you compost them first, but they hurt your plants when you pile them on fresh and thick. The difference comes down to how broken down they are before they touch your soil.
Composted grounds work because they add mild nitrogen and organic matter that feeds the life in your soil. Composting coffee grounds with browns like dry leaves turns them into a crumbly amendment that loosens heavy dirt. Your squash roots then reach deeper and hold water better when the soil has more structure like this. The grounds also feed worms and microbes, and that hidden activity is what keeps your bed loose and alive all season.
Fresh grounds cause the opposite problem. A thick cap of wet grounds packs down and mats into a hard crust that blocks air and water from your roots. Soil microbes also pull nitrogen from the dirt to break the grounds down, so your squash gets starved of nitrogen right during peak growth. That nitrogen does come back later once the grounds finish breaking down. But your plants stall and yellow in the meantime, and a stalled squash in midsummer rarely catches up before frost.
The fix is simple. Mix your grounds into a compost pile with leaves, straw, or shredded cardboard before they go anywhere near a plant. Aim for about four parts browns to one part grounds so the pile stays balanced and does not turn slimy. Let it break down for a couple of months, turn it once or twice, and you get a safe, dark amendment your squash will love.
You can also skip the pile and scatter a thin layer straight onto your bed. The key word is thin. Spread no more than a quarter inch across the soil and work it lightly into the top with a hand rake. Mixing it in stops the grounds from forming that water-blocking crust. Never dump a heavy mound around the stem, where it traps moisture and invites rot.
It also helps to dry your grounds before you spread them. Wet grounds clump and mat much faster than dry ones, so I let mine air out on an old baking sheet for a day first. Spread a thin layer of dried grounds and you avoid the worst of the crusting trouble. A little patience here saves you the yellow leaves I dealt with.
Keep grounds at least a few inches away from squash stems. Wet material sitting against the base traps moisture and can lead to stem rot during humid weeks.
One more thing to keep in mind. Coffee grounds are a soil amendment, not a full fertilizer. They give your soil a small nitrogen boost, but they lack the phosphorus and potassium that squash needs for strong flowers and fruit. Your plants still want a balanced feed every few weeks through the season. Treat the grounds as a soil builder that works alongside your regular feeding, not as a stand-in for it.
Used right, grounds become a free win for any coffee grounds garden. Compost them first, keep the layer thin, and hold them off the stems. Do that and your squash gets better soil without the yellow, stalled mess I made in that back-corner bed.
Read the full article: Squash Plants: Complete Growing Guide